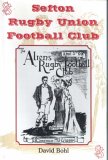
An Alien at War
My Name is Bond, Ernest Edward Bond
Written and researched by David Bohl, with the kind help and documents supplied by Dr Colm Hickey, Director of Education at John Paul 2 Foundation 4 Sport and Peter Nemaric, Archivist of King Edward's Horse Yeomanry in Geelong, Australia, and World War 1 historians worldwide.
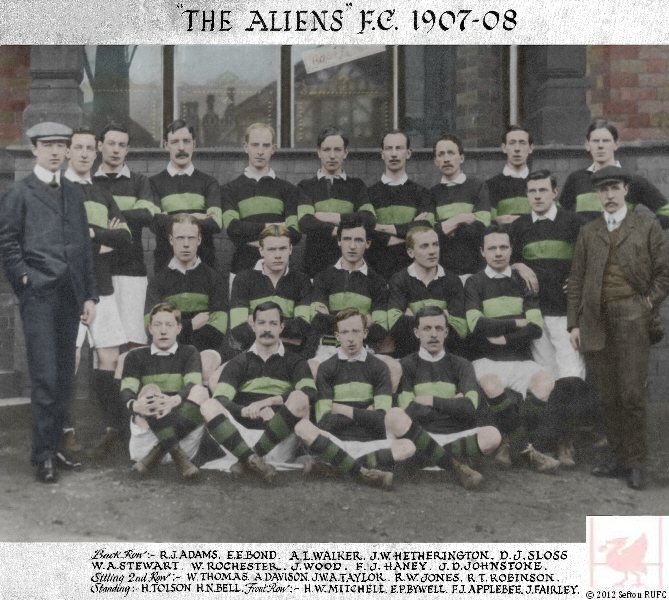
Born in Lancaster, 1882 Ernest Edward Bond moved to Liverpool to further his teaching profession and became a founder member of The Alien5 Rugby Union Club based at Clubmoor.
(Colours were black with an emerald hoop)
He taught at Clint Road Council School, a Board School on the corner of Clint Road and Solon Street, Kensington that had opened in 1879 (it closed just before the Centenary, in 1976.)
Living at 31 Addingham Road, Mossley Hill he married Frances Maude in 1910 .
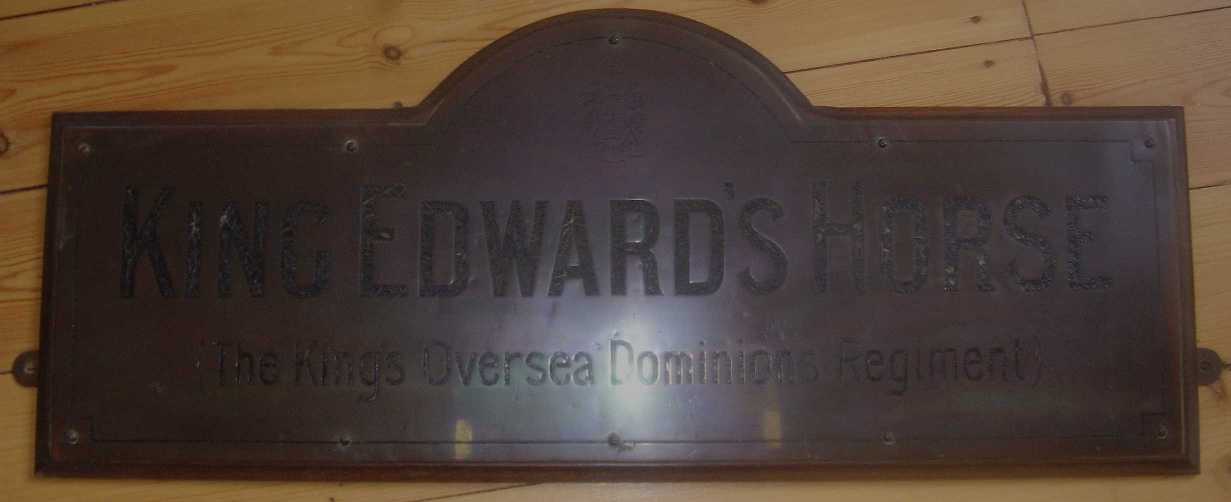
The Liverpool troop of King Edward's Horse Yeomanry was raised by Captain Lionel James and on March 16th 1906 the following appeared in Regimental Orders. -
Liverpool Troop - It is noted for information that a troop of the Regiment has been formed and is now in existence in Liverpool. Until further orders this troop will be attached to the 'A' Squadron (British Asian) for training and discipline.
[Thanks to Chris Owen for this photo, it apparently came from their Headquarters]
Colonel Lionel James CBE DSO went on to be the last Commanding Officer of King Edward's Horse and was the author of The History of King Edward's Horse.
The
book does go on to say that the
premises K.E.H occupied in
Liverpool had belonged to the old Blue Coat School. Liverpool Blue Coat
School moved out to Wavertree away from the City Centre in the early
1900`s and K.E.H would have been in the old school building which is
now The Blue Coat Arts Centre.
In 1912 'A' Squadron was broken up and the Liverpool Detachment under
Major Pearch became 'A' Squadron in it's entirety, while the original 2
Troops of 'A' Squadron were transferred to 'D Squadron. It is reported
that recruitment in Liverpool became so brisk that the change was
inevitable.
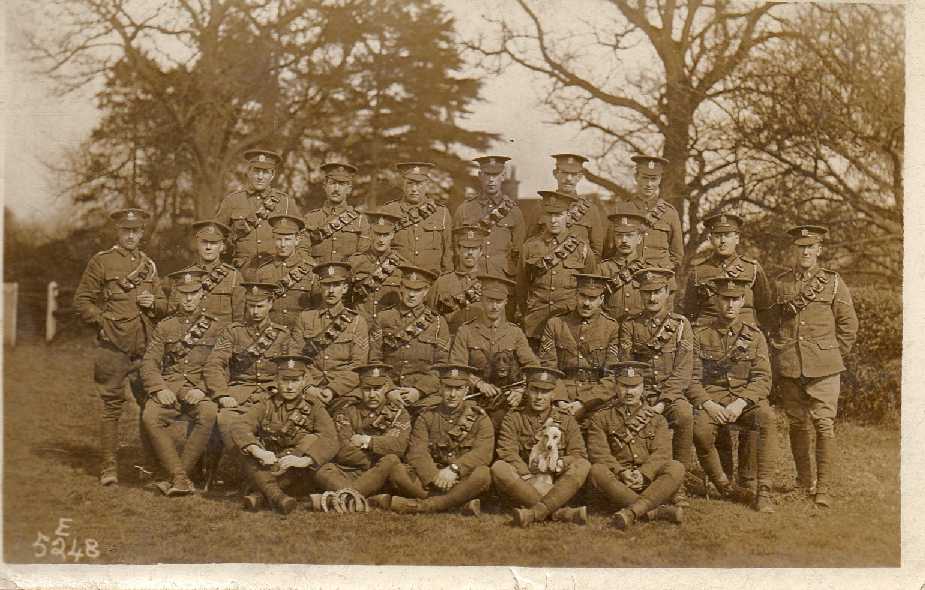
[Bond 1914 at Leavesden Green, London, rhs standing]
As Regimental Serjeant Major, Ernest Bond was heavily involved in three major battles:-
Lt Col Lionel James commanded the King Edward's Horse from June 1916 when the unit became the Cavalry Regiment of IV Corps. It led the advance in March 1917 in the direction of St.Quentin and later took part in the battles of Passchendaele and Cambrai. From December 1917 to March 1918 it was in Italy, returning in time to fight in the battle of Lys. It rendered most important service in defending the line of the Lawe and subsequently the La Bassee Canal, suffering casualties amounting to 60 per cent of its strength.
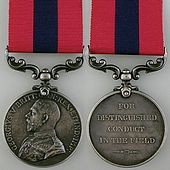
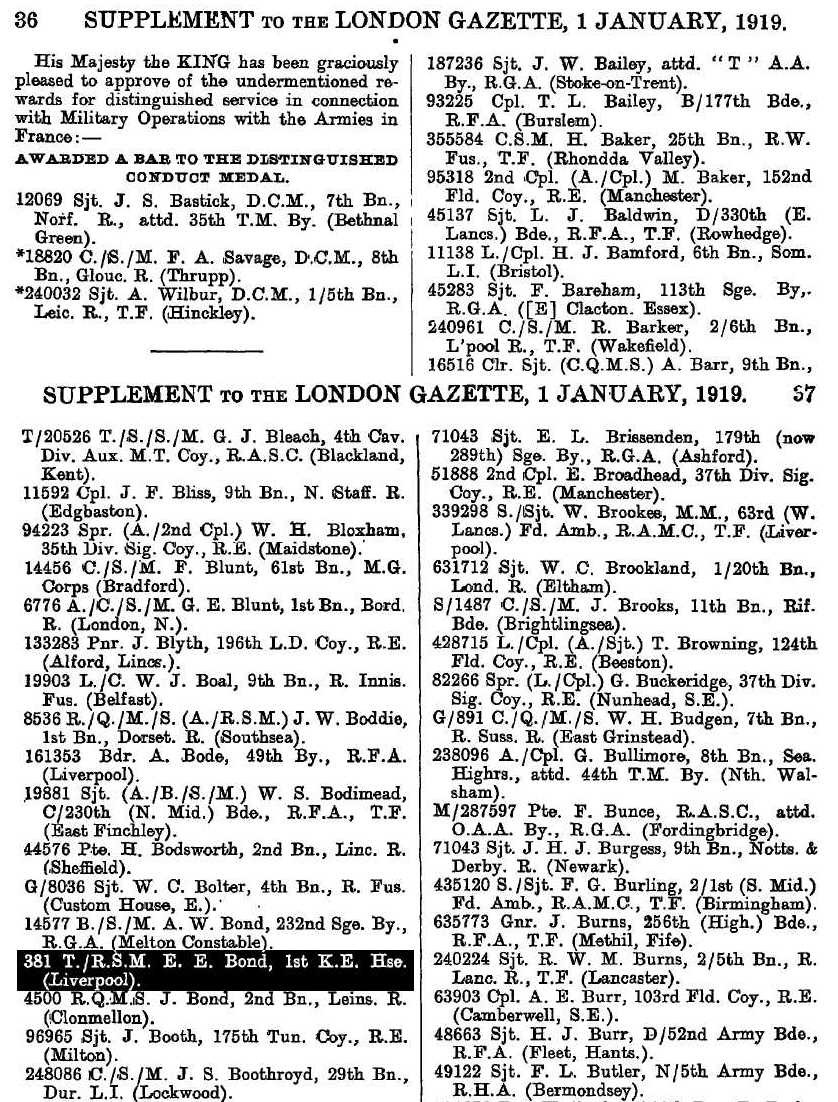
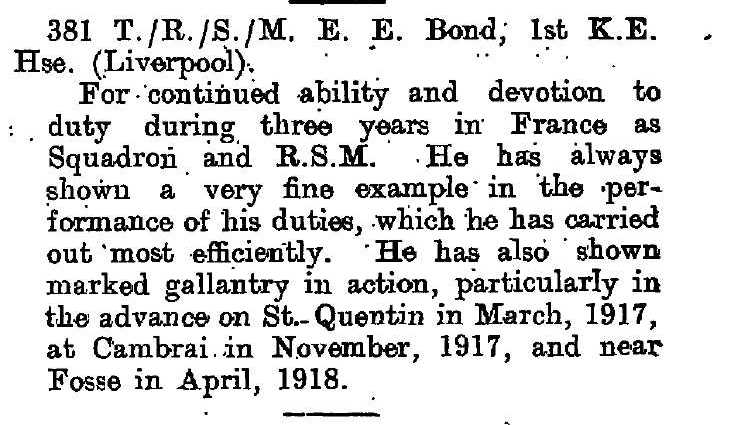
Post War Citation New Year 1919
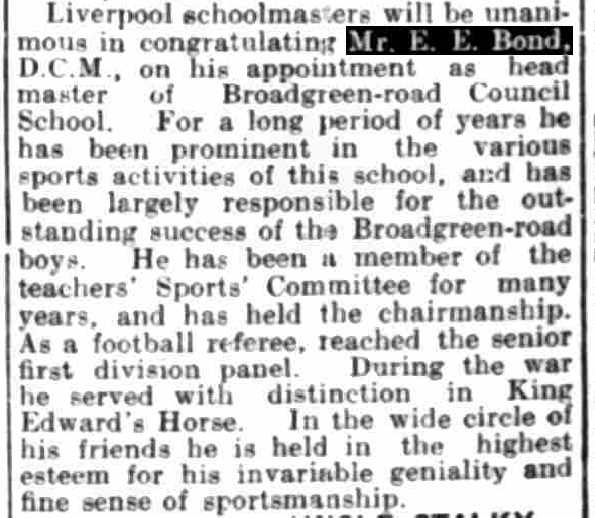
After the war Ernest was discharged from the Army on 16 January 1920 and returned to Merseyside to resume teaching.
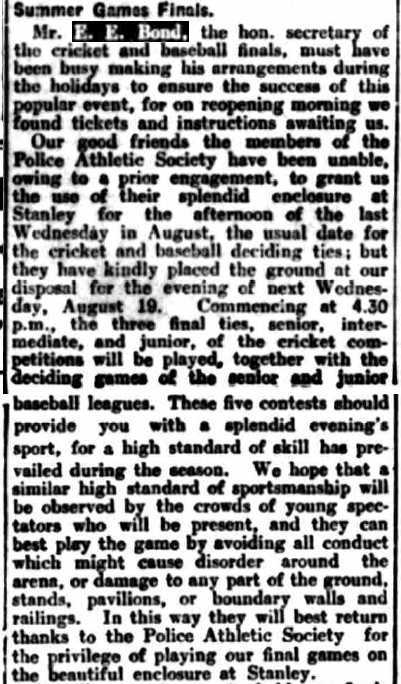
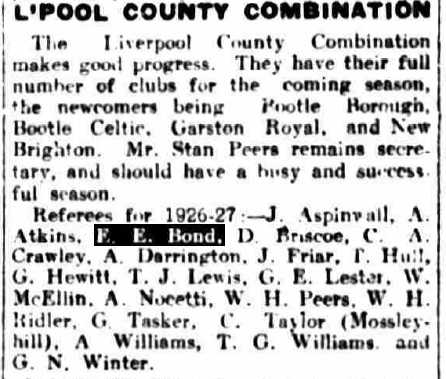
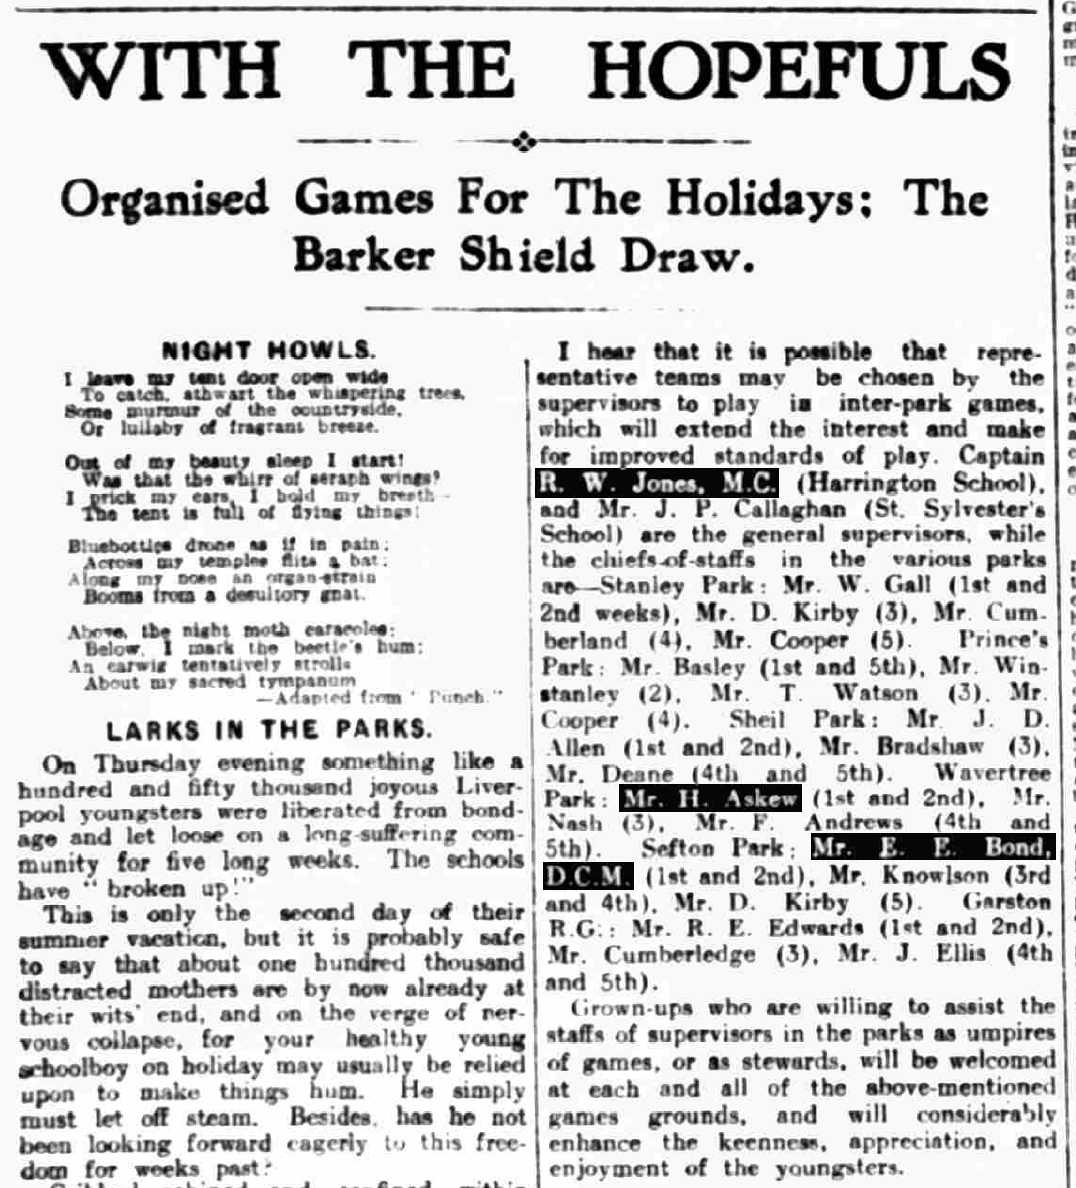
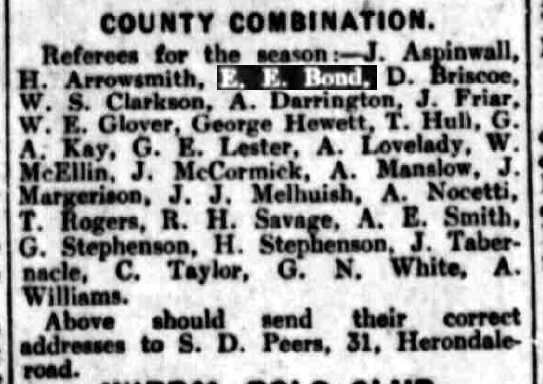
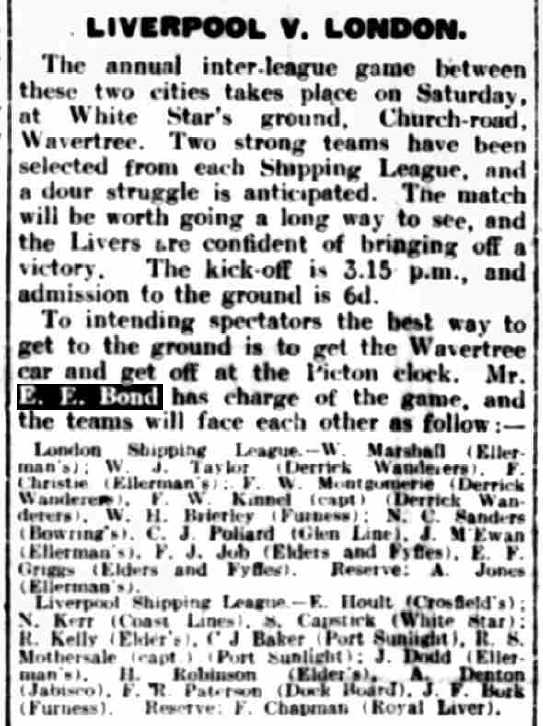
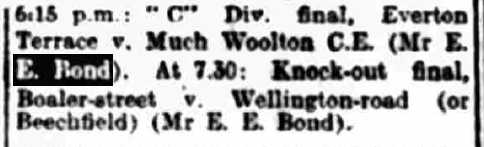
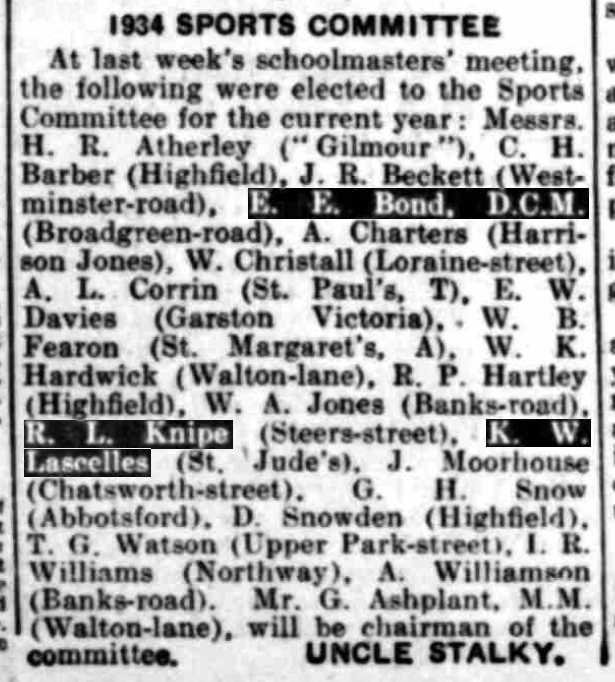
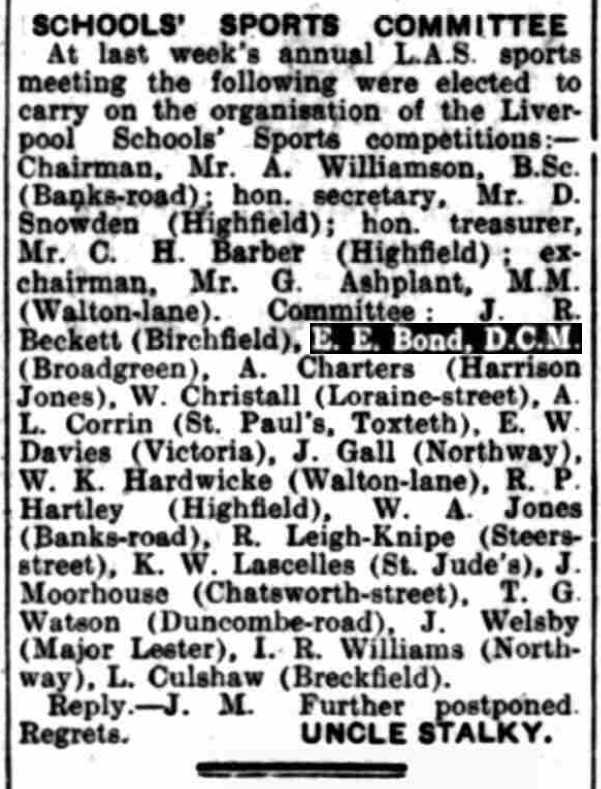
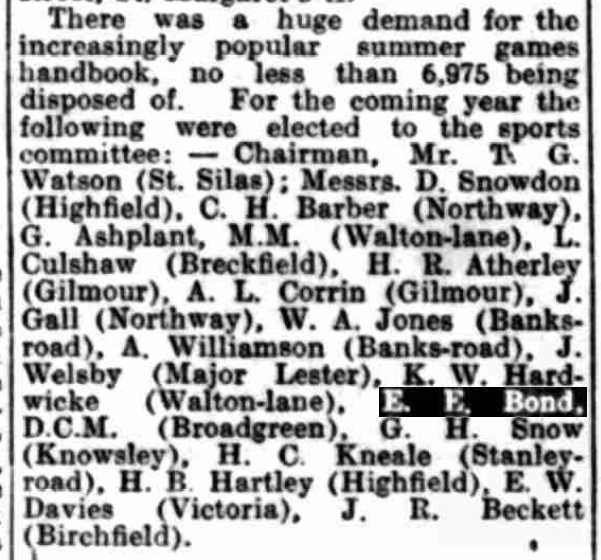
He became passionate about school sports and continued his refereeing of football games in the County Combination.
 [1914]
|
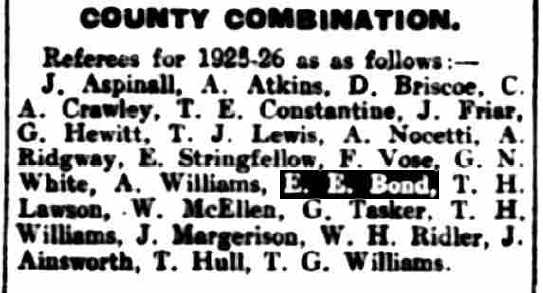 [1925]
|
 [1925]
|
 [1926]
|
 [1927]
|
[1927]
|
[1928]
|
 [1929]
|
 [1933]
|
 [1934]
|
 [1934]
|
 [1936]
|
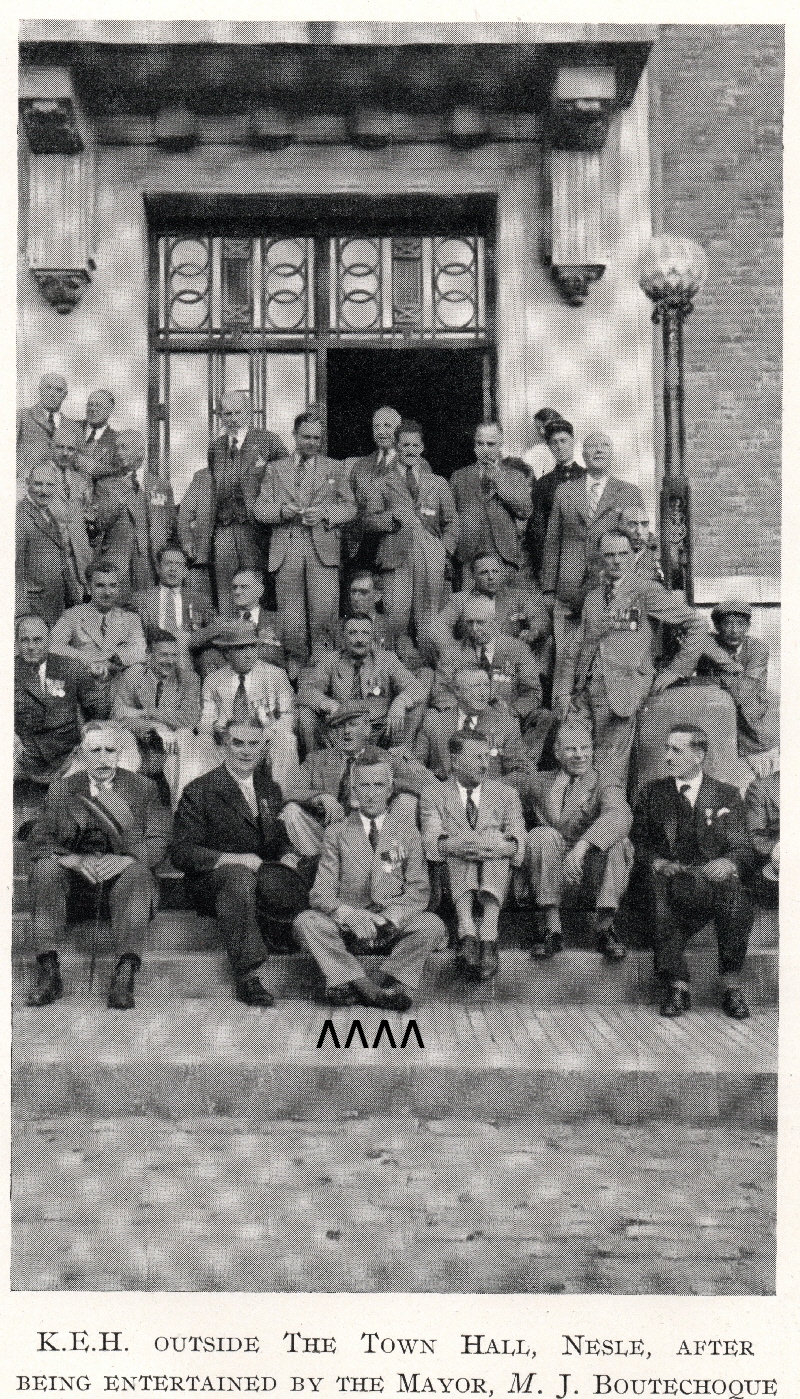
[ RSM Bond at the 1937 Reunion in France]
 [1939]
|
 [1943]
|
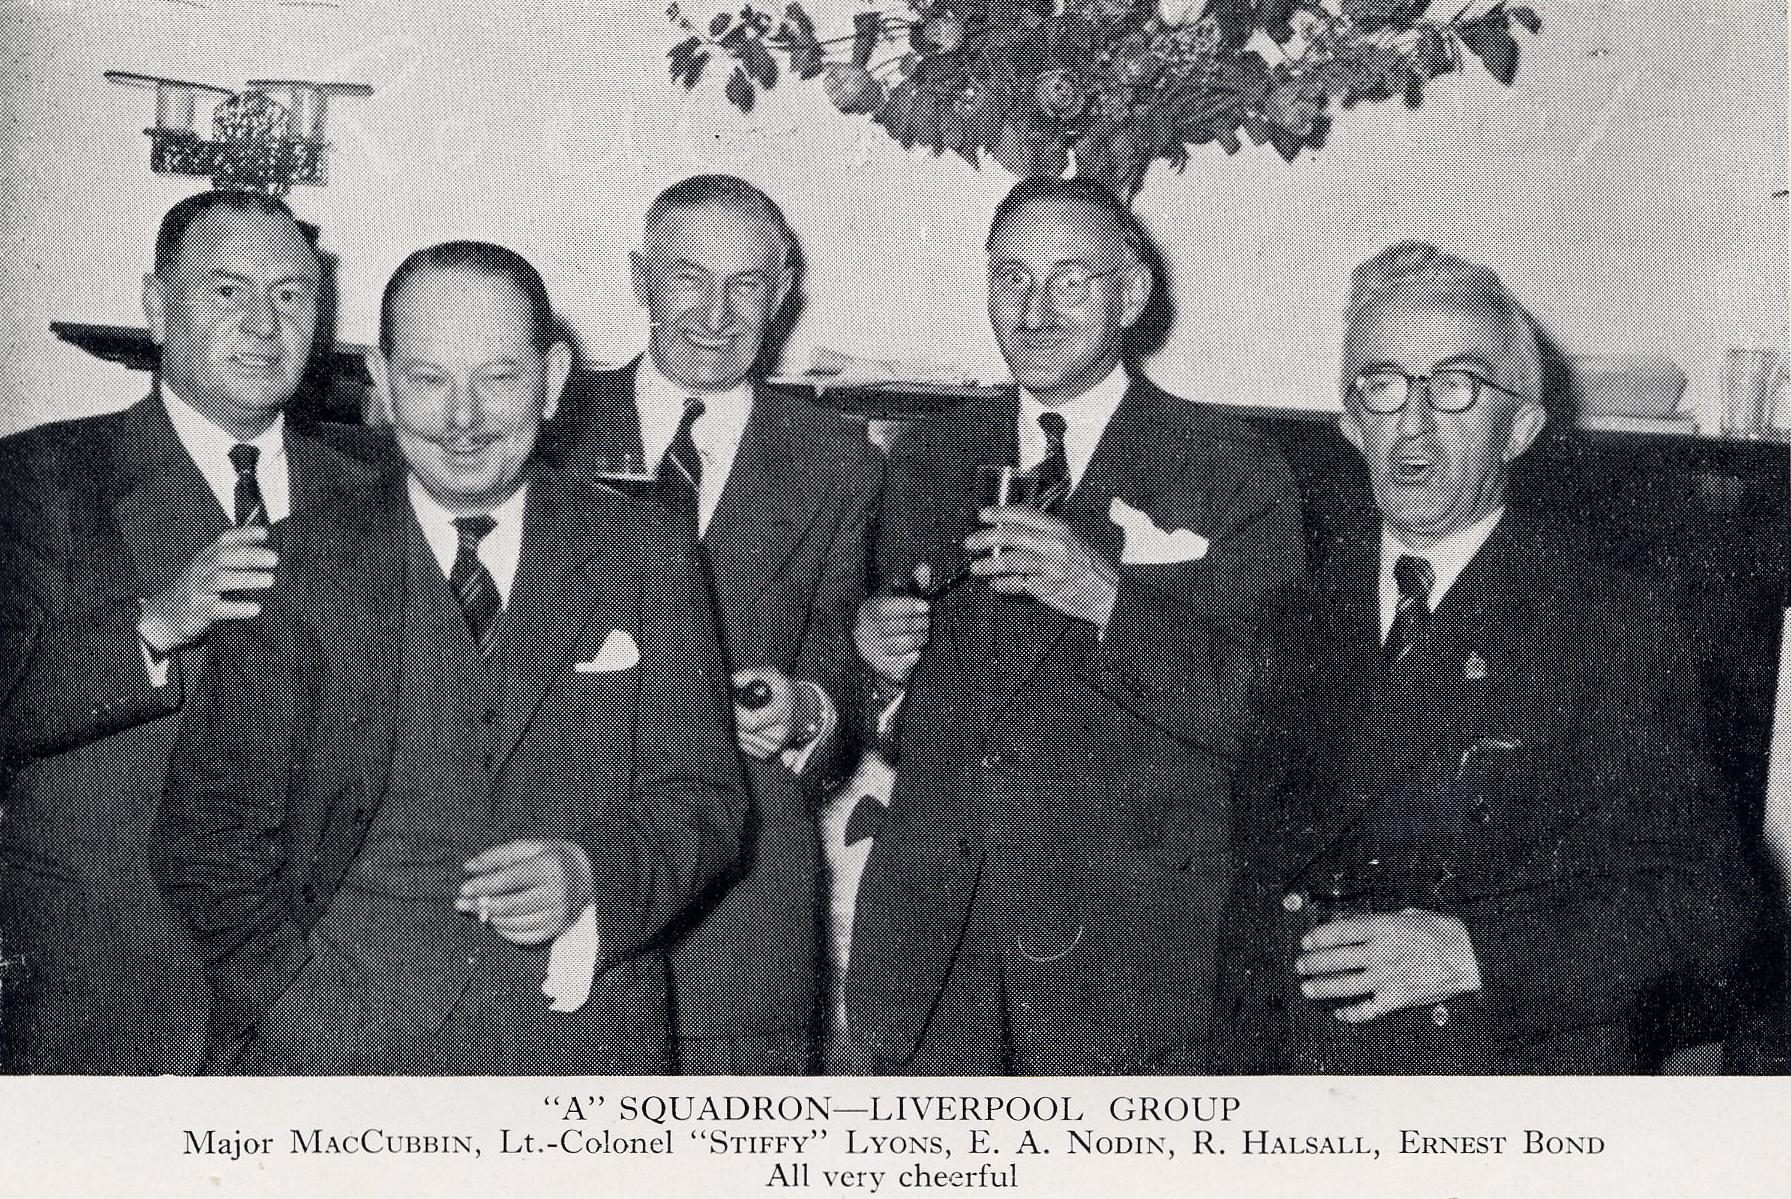
[Here he is on the right in 1954 enjoying a scotch or two at the 'A' Squadron Reunion]
RSM Bond passed away on 3rd March 1957 in Southport.
|
|
|
|
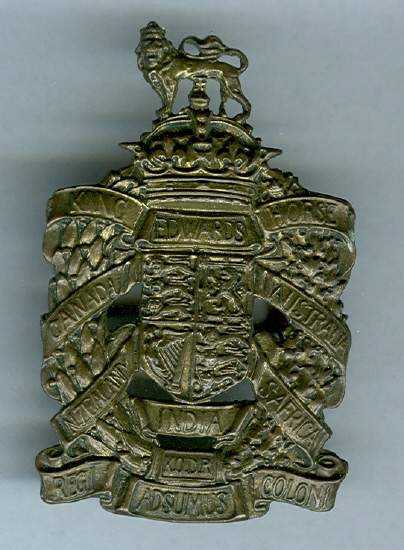
Earlier Cap Badge |
Later - Silver Cap Badge |
|
|
|
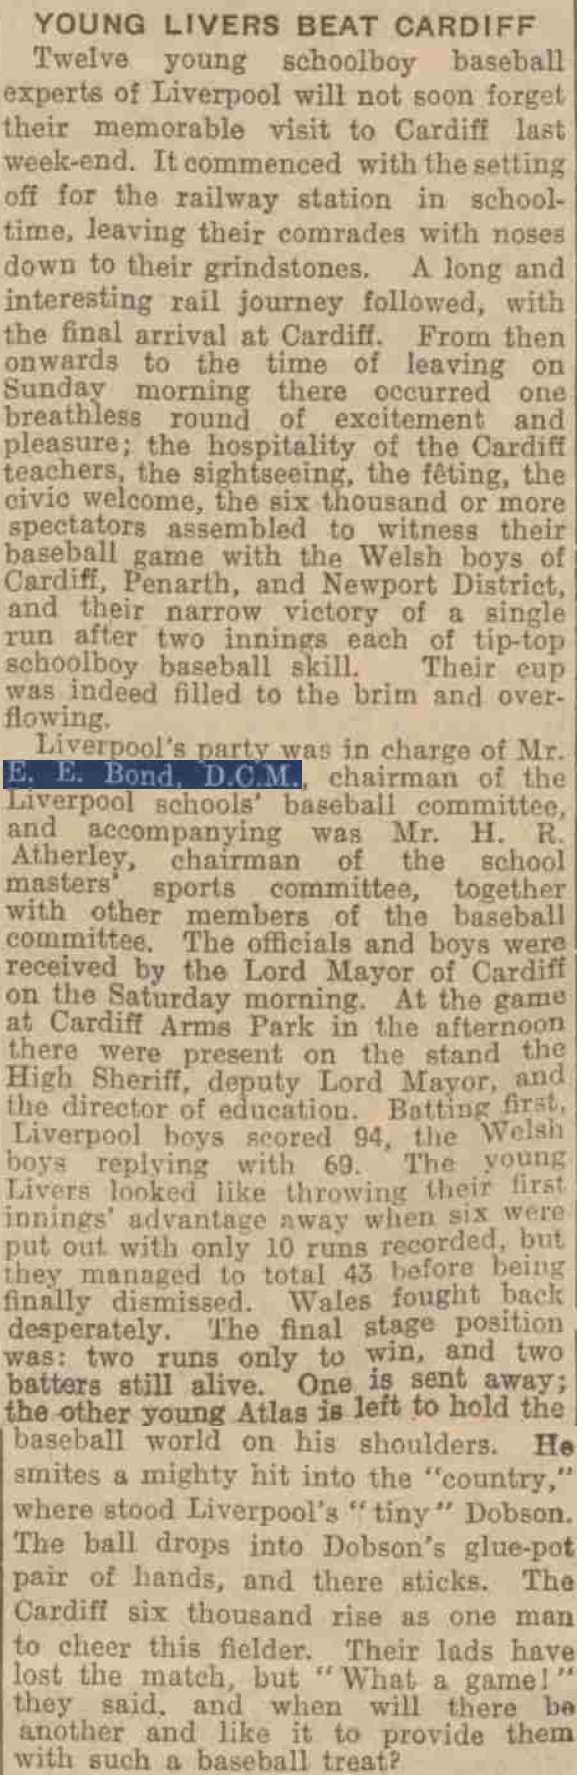
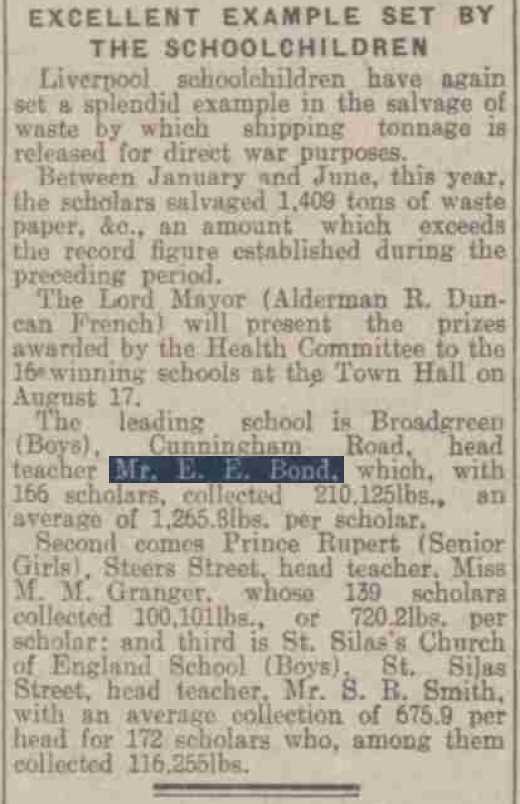
RSM Ernest E. Bond DCM
(1882-1957)
The DCM was sadly sold to a private collector
Appendix - Narrative from The Long, Long Trail (The British Army in the Great War)
March 1917 - The advance on St Quentin
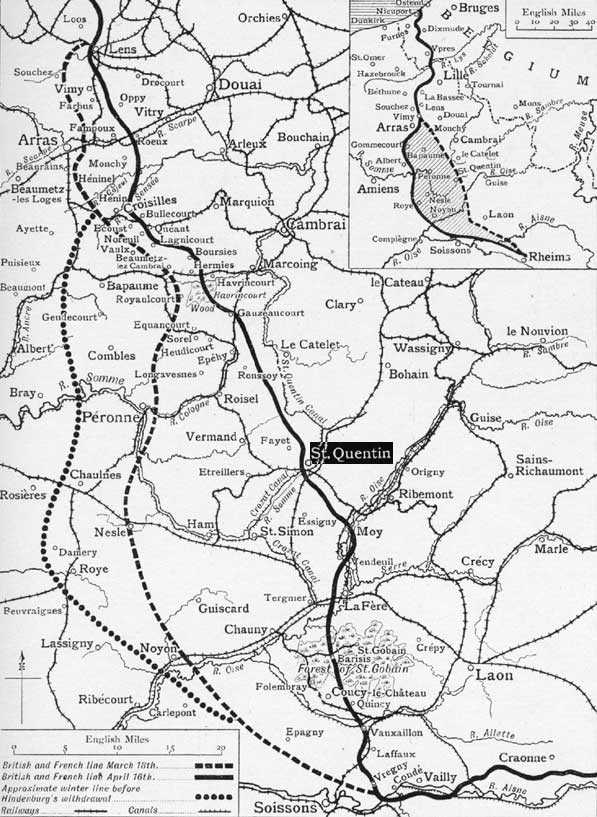
14 March - 5 April 1917
In March 1917, the German
armies on the Somme carried out a
strategic withdrawal known as Operation Alberich. They destroyed
everything on the ground that they left: flattening villages, poisoning
wells, cutting down trees, blowing craters on roads and crossroads,
booby-trapping ruins and dugouts. The withdrawal was to an immensely
powerful and shorter line, positioned to take every tactical advantage
of ground. The construction of this line - or rather, series of lines -
had been spotted by British and French aviators in late 1916. British
patrols began to detect the withdrawal of German infantry from the
Somme in mid February 1917 and a cautious pursuit began, halted only as
the Hindenburg Line itself was approached.
Lt Col Lionel James commanded the King Edward's Horse from June 1916 when the unit became the Corps Cavalry Regiment of IV Corps. It led the advance of IV Corps, in March 1917 in the direction of St.Quentin.
Fourth
Army (Rawlinson)
5th Cavalry Division
III Corps (Pulteney)
1st Division
48th (South Midland) Division, which occupied Peronne on 18 March
59th (2nd North Midland) Division.
IV Corps (Woollcombe)
32nd Division
35th Division
61st (2nd South Midland) Division.
XIV Corps (Cavan)
Guards Division
20th (Light) Division (transferred to XV Corps on 25 March).
XV Corps (Du Cane)
8th Division
20th (Light) Division (transferred from XIV Corps on 25 March)
40th Division.
November 1917 - Passchendaele and Cambrai
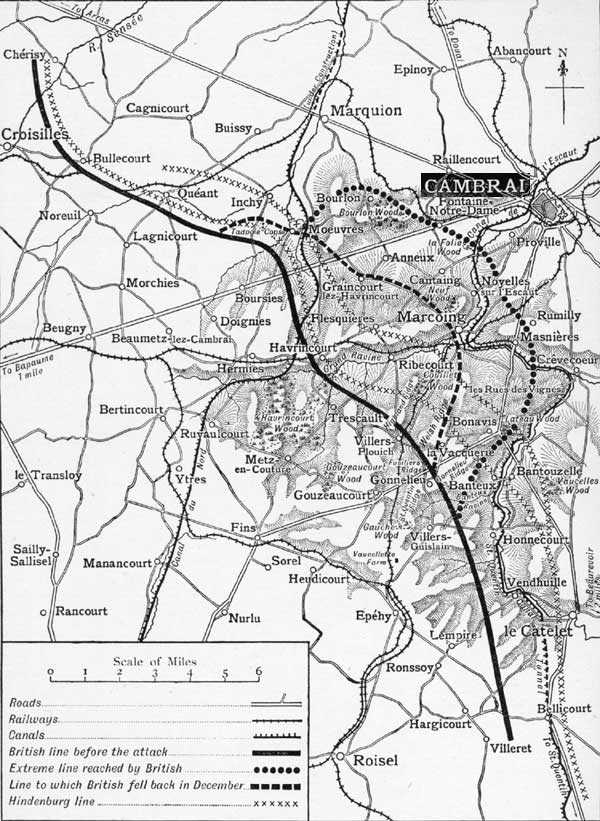
The plan of attack
In Third Army orders – codenamed Operation GY - issued on 13 November 1917, the attack was defined as a coup de main, "to take advantage of the existing favourable local situation" where "surprise and rapidity of action are … of the utmost importance". It was also to be a deep attack on a 10,000 yard (5.6 mile) front that would be "widened as soon as possible". Once the key German Masnieres-Beaurevoir line had been breached by III Corps, the cavalry would pass through, reach around to isolate Cambrai from the rear and cut the railways leading from it. Haig would later say that the purpose of the attack was to compel the enemy to withdraw from the salient between the Canal du Nord and the Scarpe, although the objectives must be achieved within 48 hours before strong enemy reserves could come into play. So the high speed and short tactical operation had somehow become one of seizing and holding ground, and while not quite a plan for strategic breakthrough – there were never enough reserves to exploit a breakthrough – the orders had faint resemblance to the original concepts.
Phase:
the Tank attack, 20 - 21
November 1917
Third
Army (Byng)
Cavalry Corps (Kavanagh)
1st Cavalry Division
2nd Cavalry Division
5th Cavalry Division.
III Corps (Pulteney)
6th Division
12th (Eastern) Division
20th (Light) Division
29th Division.
IV Corps (Woollcombe)
36th (Ulster) Division
40th Division
51st (Highland) Division
56th (1st London) Division
62nd (2nd West Riding) Division.
VII Corps (Snow)
55th (West Lancashire) Division.
The battle
The
attack was launched at 6.20am on the 20th
November. The
British Divisions in the front line were, from right to left, the 12th
(Eastern), 20th (Light), 6th, 51st (Highland), 62nd (West Riding) and
36th (Ulster). In immediate support was the 29th, and ready to exploit
the anticipated breakthrough and sweep round Cambrai were the 1st, 2nd
and 5th Cavalry Divisions.
The Tank Corps deployed its entire strength of 476 machines, of which
more than 350 were armed fighting tanks. They were led by the Tank
Corps GOC, Hugh Elles, in a Mk IV tank called 'Hilda'.
The attack opened with an intensive predicted-fire barrage on the
Hindenburg Line and key points to the rear, which caught the Germans by
surprise. Initially, this was followed by the curtain of a creeping
barrage behind which the tanks and infantry followed.
On the right, the 12th (Eastern) Division moved forward through Bonavis
and Lateau Wood, and dug in a defensive flank to allow the cavalry to
pass unrestricted, as ordered. On the extreme right of the attack, the
7th Royal Sussex got into Banteux, which had been subjected to gas
attack from Livens projectors.
The 20th (Light) Division captured La Vacquerie after a hard fight and
then advanced as far as Les Rues Vertes and Masnieres where there was a
bridge crossing the St Quentin Canal. Securing the bridge was going to
be vital for the 2nd Cavalry Division, planning to move up to the east
of Cambrai. However, the weight of the first tank to cross the bridge,
'Flying Fox', broke its back. Infantry could cross slowly by a lock
gate a couple of hundred yards away, but the intended cavalry advance
was effectively halted. An improvised crossing also allowed the B
squadron of the Fort Garry Horse to cross, but they were left
unsupported and withdrew. For no good reason, it was not noticed that
further canal crossings at Crevecoeur-sur-Escaut were very lightly
defended, until too late in the day.
The cavalry were hampered by uncertain communications regarding
progress and the collapse of the canal bridge at Masnieres under weight
of a passing tank did not help, either, as there were few crossing
points. But it seems that the cavalry was indifferently commanded.
Lieutenant General Sir Aylmer Haldane (VI Corps) assigns blame to
Cavalry Corps commander, Lieutenant General Charles Kavanagh, "who was
vague as regards his intentions".
The 6th Division, once it had crossed the Hindenburg Line, moved
forward and captured Ribecourt and fought as far as and through
Marcoing. The 5th Cavalry Division advanced through them but were
repulsed in front of Noyelles.
The 51st (Highland) Division had a very hard fight for Flesquieres, but
its failure to capture it and keep up with the pace of the advance on
either side left a dangerous salient which exposed the flanks of the
neighbouring Divisions. Much has been written about the failure of the
Division to move on Flesquieres and the apparent unwillingness of its
commander, Major General George Harper, to support the idea of a tank
attack and the new infantry tactics to go with it. This has its roots
in criticism by Baker-Carr and Liddell Hart in 1930 (eight years after
Harper’s death), comprehensively demolished by John Hussey in
his
article ‘Uncle Harper at Cambrai’, Stand
To! The journal of the Western Front Association,
62 (2001),
pp.13-23, reprinting from British
Army Review,
117 (1997).
On the left of Flesquieres, the 62nd (2nd West Riding) Division fought
hard through the ruins of Havrincourt, up to and through Graincourt and
by nightfall were within sight of Anneux in the lee of the commanding
height crowned by Bourlon Wood. The division had covered almost five
miles from their start point, and were exhausted. (This was later
claimed to be a record advance in the Great War for troops in battle).
The 36th (Ulster) Division moved up the dry excavations of the Canal du
Nord, and lay alongside the Bapaume-Cambrai road by nightfall. By
recent Western Front standards, the advance was little short of
miraculous, and victory bells were pealed in Britain on the 23rd. In
the light of subsequent events, this was indeed ironic.
Successful though the day was, with an advance three to four miles deep into a strong system of defence in little over four hours at a cost of just over 4000 casualties, it was on 20 November that things began to go wrong, leading inexorably to failure ten days later. Third Army failed to fulfil its objectives, notably in that the cavalry had been unable to push through a gap at Marcoing-Masnieres and on to encircle Cambrai itself. Nowhere had the Masnieres-Beaurevoir line been convincingly penetrated, and the key Bourlon ridge, dominant of the northern half of the battlefield, remained firmly in German hands. No fewer than 179 tanks had been destroyed, disabled or broke down. By the afternoon, the attack had already lost its early impetus.
Seeds
of future failure
Byng was all for carrying on, issuing orders to III Corps at 8pm to
continue the push into the Masnieres-Beaurevoir line to allow passage
of the cavalry, and to IV Corps for finally completing the capture of
Flesquieres and Bourlon before the 48 hour limit was reached. With few
fresh troops, surprise lost, the tanks weakened and the field artillery
in the process of moving up, the renewed attack had all the hallmarks
of "penny packet" Somme fighting and achieved little. Late on 21
November, Byng ordered the III Corps operation to halt and for
consolidation to take place.
Driven by the tactical importance of the position, absence of signs of
growth of German strength and the fact that Third Army had not yet
called upon V Corps (which had been placed at its disposal as reserve
at the outset of the battle), Haig ordered Byng to continue with the
attack on Bourlon. This was a serious command failure. The audacious
sweep to capture Cambrai and force evacuation of a wide area to the
Scarpe had become a bitter yard by yard fight for a difficult feature
of landscape.
Phase: the capture of Bourlon
Wood, 23 - 28 November 1917
Note: the official title of
this phase is a little
misleading.Only IV Corps fought for the wood itself.
Third
Army (Byng)
III Corps (Pulteney)
6th Division
12th (Eastern) Division
20th (Light) Division
29th Division.
IV Corps (Woollcombe)
1st Cavalry Division
2nd Cavalry Division
Guards Division
2nd Division
36th (Ulster) Division
40th Division
51st (Highland) Division
56th (1st London) Division (transferred to VI Corps on 24 November)
62nd (2nd West Riding) Division.
VII Corps (Snow)
55th (West Lancashire) Division.
The battle
When first presented with the
Byng's plan for the attack,
Douglas
Haig recommended strengthening the left flank in order to take Bourlon
Wood very early. He wasted his breath: Byng ignored his advice. By
nightfall on the 20th, it was clear that Haig had been right. From the
dominating height of the wood, the Germans held the British advance in
front of Anneux and Graincourt. There was good news, however, as the
51st (Highland) Division finally crept into Flesquieres, abandoned
during the night by the Germans.
On the morning of the 21st, the Highlanders moved forward with the aid
of two tanks towards Fontaine Notre Dame, but were held up by fire from
the wood. Harper ordered a halt until the 62nd (2nd West Riding)
Division had captured the heights. The latter had a violent and costly
battle for Anneux, led by the 186th Brigade under Roland Boys Bradford.
To the north, the 36th (Ulster) Division, planning to continue their
advance beyond Moeuvres, waited for the success signal, signifying that
the 62nd had captured Bourlon. It never came, for the 62nd could not
penetrate beyond the sunken lane facing the wood. By the evening of the
21st, Haig was satisfied that 'no possibility any longer existed of
enveloping Cambrai from the south'. The British were now in an exposed
position in the lee of Bourlon Wood, the capture of which would still
prove to be useful, in cutting German access to key light railway lines
feeding their front. Haig and Byng decided to press on, even though it
meant deepening the salient that had been created and throwing in even
more troops into this northern sector of the battlefield.
On 22 November, the GOC 40th Division at Beaumetz-les-Cambrai received
orders to relieve the 62nd Division the next day. The 40th was a
division of Bantams, men under regulation height. By now the roads were
breaking up under the strain of thousands of men, wagons and lorries.
It took 40th Divisional HQ 15 hours to travel the 9 miles to
Havrincourt. A relief and assault plan was quickly drawn up: 121
Brigade to capture Bourlon, 119 Brigade to go for the wood, both
jumping off from the sunken lane. On their right, the 51st would move
forward to Fontaine. On the left, the 36th would go in again at
Moeuvres. 92 tanks would support these units. They attacked through
ground mist on the morning of the 23rd. Some of the units of the 40th
had to cross 1000 yards down the long slope from Anneux, across the
sunken lane and up the final rise into the wood, all the while under
shell fire. There was close and vicious fighting in the wood, but after
3 hours the Welsh units of 119 Brigade were through and occupying the
northern and eastern ridges at the edge of the undergrowth. 121 Brigade
was cut down by heavy machine gun fire, and few men got as far as the
village. 7 tanks did but were unsupported and the survivors withdrew.
On the flanks, the 36th and 51st Divisions made little progress,
against strengthening opposition.
Over the next few days, further troops were thrown into the battle,
including the Guards Division, which advanced into Fontaine. Once his
troops had been driven from the wood, the enemy switched all of his
artillery onto it. Battalions in the wood were wiped out. Three
companies of the 14th HLI miraculously penetrated to the far side of
Bourlon but were cut off and gradually annihilated. And it began to
snow. The weary troops settled into the newly-won positions. The
British now sat some way ahead of the position of 20th November, being
in possession of a salient reaching towards Cambrai, with the left
flank facing Bourlon and the right alongside the top of the slope which
ran down towards Banteux.
Seeds of future failure
"All arms" fighting broke down, the tanks few and impotent in the thick woodland of Bourlon and La Folie, and defeated in the ruined streets of Fontaine Notre Dame. Behind the front, the roads resembled those at Morval a year before, the traffic unable to move through mud and snow, along roads for which there was insufficient stone and labour to carry out adequate running repairs. The "ray of hope" had become a slow, piecemeal and inevitably costly shambles. Third Army closed down offensive operations on 27 November and units were ordered to consolidate. Three days later, The German Army struck back.
Note: VI Corps (Haldane) carried out a major subsidiary action at Bullecourt on 20 November 1917, using 3rd and 16th (Irish) Divisions.
April 1918 - Fosse
From December 1917 to March 1918 IV Corps was in Italy, returning in time to fight in the battle of Lys. It rendered most important service in defending the line of the Lawe and subsequently the La Bassee Canal near Hinges, suffering casualties amounting to 60 per cent, of its strength.

|
FOSSE |
09/04/1918 |
9.15AM |
Regiment in position holding battle posts as follows |
|
A Sqdn LES 8 MAISONS B Sqdn VIEILLE CHAPELLE C Sqdn in support with Regimental HQ at R 22 d 16 |
|||
|
10.30AM |
Visited by Major G S BOYD XI Corps ELLE C Sqdn in support with Regimental HQ at R 22 d 16 |
||
|
10.30AM |
Visited by Major G S BOYD XI Corps "G" Staff who handed XI Corps memo No GO 308 to CO |
||
|
11.00AM |
Number of Portuguese stragglers passing to the rear. In touch with Cyclists at LA COUTURE. |
||
|
11.35AM |
Troop of C Sqdn with two Hotchkiss rifles under Lt L P MOFFAT sent up in support of A Sqn at LES 8 MAISONS. Remainder of C Sqdn moved into FOSSE BRIDGEHEAD defences. Guides sent under St R E N TWOPENNY to Brigade HQ to guide up infantry. Portuguese stragglers continuing to pass back mostly without arms and many without boots. |
||
|
12 Noon |
Regtl HQ moved in to FOSSE BRIDGEHEAD in touch with DURHAM LI at LE MARAIS |
||
|
12.20PM |
MG fire heard from direction 8 MAISONS |
||
|
1.00PM |
Message received from Major J N MACDONALD to the effect that he with Lt HOPE and 2nd Lt PATELL were all wounded and Lt STEIN in command at VIEILLE CHAPELLE |
||
|
1.12PM |
A Sqdn at 8 MAISONS engaging enemy |
||
|
1.45PM |
Infantry 1/5 SEAFORTH HIGHLANDERS began to arrive and proceeded to 8 MAISONS and VIEILLE CHAPELLE. HQ 1/5 S.H. established in FOSSE BRIDGEHEAD with KEH |
||
|
2.53PM |
A Sqdn at LES 8 MAISONS heavily engaged. See Appendix IV. RF6. Enemy seen from FOSSE working around to his right our left towards LE MARAIS. Regtl HQ withdrawn to Bridge at R 21 b 35 |
||
|
4.00PM |
DURHAM LI forced out of LE MARAIS. HQ men of 1/5 Seaforth formed a defensive flank to north of FOSSE BRIDGEHEAD |
||
|
4.20PM |
A Coy 6th GORDONs sent to VIEILLE CHAPPELLE to reinforce B Sqdn. Capt CHRISTIE assumed command at VIEILLE CHAPPELLE |
||
|
6.30PM |
SEAFORTH HIGHLANDERS and KEH returning reported 8 MAISONS evacuated. Seaforths sent to reinforce Bridgehead. KEH retained at R 21 b 35 as a small reserve. |
||
|
7.37PM |
Orders received that FOSSE BRIDGEHEAD now placed under order of Lt Col SCOTT commanding 1/5 SEAFORTH HIGHLANDERS and VIEILLE CHAPPELLE SECTOR under LT Col MACDONALD 1/6 GORDON HIGHLANDERS |
||
|
8.00PM |
Major R D FURSE reported back to Regtl HQ with balance of A Sqdn. Here disposed as defensive flank to FOSSE BRIDGEHEAD on the south. VIEILLE CHAPPELLE BRIDGEHEAD position still held by B Sqdn and 1/6th GORDONS under Capt CHRISTIE 1/6 GORDONS. Limber carried from transport at PARADIS with ammunition for C and explosives for preparation for FOSSE bridge for demolition. This was carried out. Line around FOSSE bridgehead ?? ??? 1/5 SEAFORTHS at R 21 b 47 to R22 b 072 troops KEH R 22 b 07 to R22 b 02 1/5 SEAFORTHS R 22 b 02 to R 22 |
||
|
. Part of KEH R22 C 07to Canal |
|||
|
BELLERIVE |
11/04/1918 |
Noon |
All available Hotchkiss rifles teams, 3 teams in all complete, and 1 team Lewis gun sent to 51st Div HQ Robecq under 2nd Lt L L LACEY |
|
12/04/1918 |
5.00AM |
Regiment "stood to" at dawn |
|
|
6.30AM |
Verbal message brought by Lt LADE, on daylight patrol, that enemy had broken through and were advancing towards canal bridges. Orders issued to Major R D FURSE to proceed to at once with all available mounted men from his squadron (A) and 25 mounted men of C under Capt CRESSWICK to seize and hold canal crossings on P36 a Q 31 a and Q32 d. |
||
|
A Sqdn spare horses left in BELLERIVE. Remainder of spare horses and R H transport sent to LECLEME under Cpl A G CAMERON |
|||
|
MOUNT BERNENCHON |
Bridge to Q 32 d seized by 2nd Lt G G RICH with troop of A just in time to deny it to enemy. 2nd Lt RICH subsequently relieved by C Sqdn withdrawn to MT BERNENCHON |
||
|
9.00AM |
Regtl HQ moved from BELLERIVE to MT BERNENCHON |
||
|
9.45AM |
Bridges in P36a and Q31a taken over by infantry of 3rd Div and MG Corps |
||
|
10.50AM |
Touch gained with 154 Bde 51st Div at HINGES |
||
|
11.00AM |
C Sqdn at G32d relieved by infantry of 154 Bde and withdrawn to MT BERNENCHON |
||
|
11.00AM to 6.00PM |
Remained in support at MT BERNENCHON. Small parties of enemy observed at intervals in neighbourhood RIEZ DU VINAGE, BAQUEROLLES FME but no attack developed. Mounted patrols sent out. Heavily fired on by MGs from direction of RIEZ DU VINAGE |
||
|
CANTRAINNE |
7.00PM |
A and C sqdn and Regtl HQ withdrawn to CANTRAINNE. No news of B Sqdn received all this day feared they have been surrounded in VIEILLE CHAPPELLE |
|
|
CANTRAINNE |
13/04/1918 |
5.00AM |
Regiment stood to at dawn. Quiet day. 2nd Lt LACEY and Hotchkiss teams rejoined. |
|
6.00PM |
Orders received to send all spare horses with men on a scale of 1 to b to XI Corps Reinforcement Camp MARTHES in order to render Regiment here ?????, Attd 1 horse per man. |
||
|
CANTRAINNE |
14/04/1918 |
9.00AM |
Spare horses dispatched as above under Cpl A G CAMERON |
|
Casualties for fighting 9th – 12th inst |
|||
|
KILLED |
|||
|
2nd Lt H O’H GILES |
|||
|
2nd Lt E M FISHER |
|||
|
14 OR |
|||
|
WOUNDED |
|||
|
Major J N MACDONALD |
|||
|
Lt R W HOPE |
|||
|
Lt R E N TWOPENNY MC |
|||
|
2nd Lt J W PATELL |
|||
|
56 OR |
|||
|
MISSING |
|||
|
Lt N G ADDISON |
|||
|
Lt I P B STEIN |
|||
|
Lt J W PINCKNEY |
|||
|
68 OR |
|||
|
23 Horses K W or missing |
|||
|
CANTRAINNE |
15/04/1918 |
4.57AM |
Regiment stood to at dawn 4.57AM. Officers patrol to ROBECQ reports situation unchanged. |
|
16/04/1918 |
4.55AM |
ditto |
|
|
17/04/1918 |
4.53AM |
ditto |
|
|
18/04/1918 |
ditto |
||
|
19/04/1918 |
4.51AM |
ditto |
|
|
11.00AM |
Regiment inspected by Lt Gen SIR R C B HAKING KCB LCMG commanding XI Corps who presented the following medals |
||
|
No 659 Sgt P BEVAN M.M. |
|||
|
No 1143 Pte C F REISSLAND M.M. |
|||
|
No 1342 Pte A D HARTLE M.M. |
|||
|
No 889 Pte V MORGAN D.C.M. M.M. |
|||
|
No 1118 Pte J COLEMAN M.M. |
|||
|
No 697 Pte T HENDERSON M.M. |
|||
|
No 1213 Pte J H ROBERTS |
|||
|
No 1103 Cpl E McCRACKEN bar to M.M. |
|||
|
20/04/1918 |
4.47AM |
Regiment stood to at dawn 4.47AM. Officers patrol to ROBECQ reports situation unchanged. |
|
|
21/04/1918 |
4.45AM |
ditto |
|
|
22/04/1918 |
4.43AM |
ditto |
|
|
CANTRAINNE |
23/04/1918 |
4.41AM |
Regiment stood to at dawn. Quiet day. |
|
24/04/1918 |
Inlying picquet of 20 OR under an officer established for Regimental stand to. Quiet day. |
||
|
25/04/1918 |
ditto Draft of 36 OR received. Orders received for regiment to move to QUIESTEDE |
||
|
26/04/1918 |
9.00AM |
Regiment moved into camp near QUIESTEDE |
|
|
27/04/1918 |
Daily routine only |
||
|
28/04/1918 |
Regiment began training under Sqdn leaders |
||
|
29/04/1918 |
ditto |
||
|
30/04/1918 |
All Aliens RFC, Seft0n RUFC photographs, programmes and memorabilia Copyright © 2012 Sefton RUFC